Showing posts with label MAC OSX. Show all posts

Saturday, April 11, 2015

[OSX - Yosemite] How to install Yosemite

Today, You can install Yosemite! Please prepare yosemite usb media or download from app store.

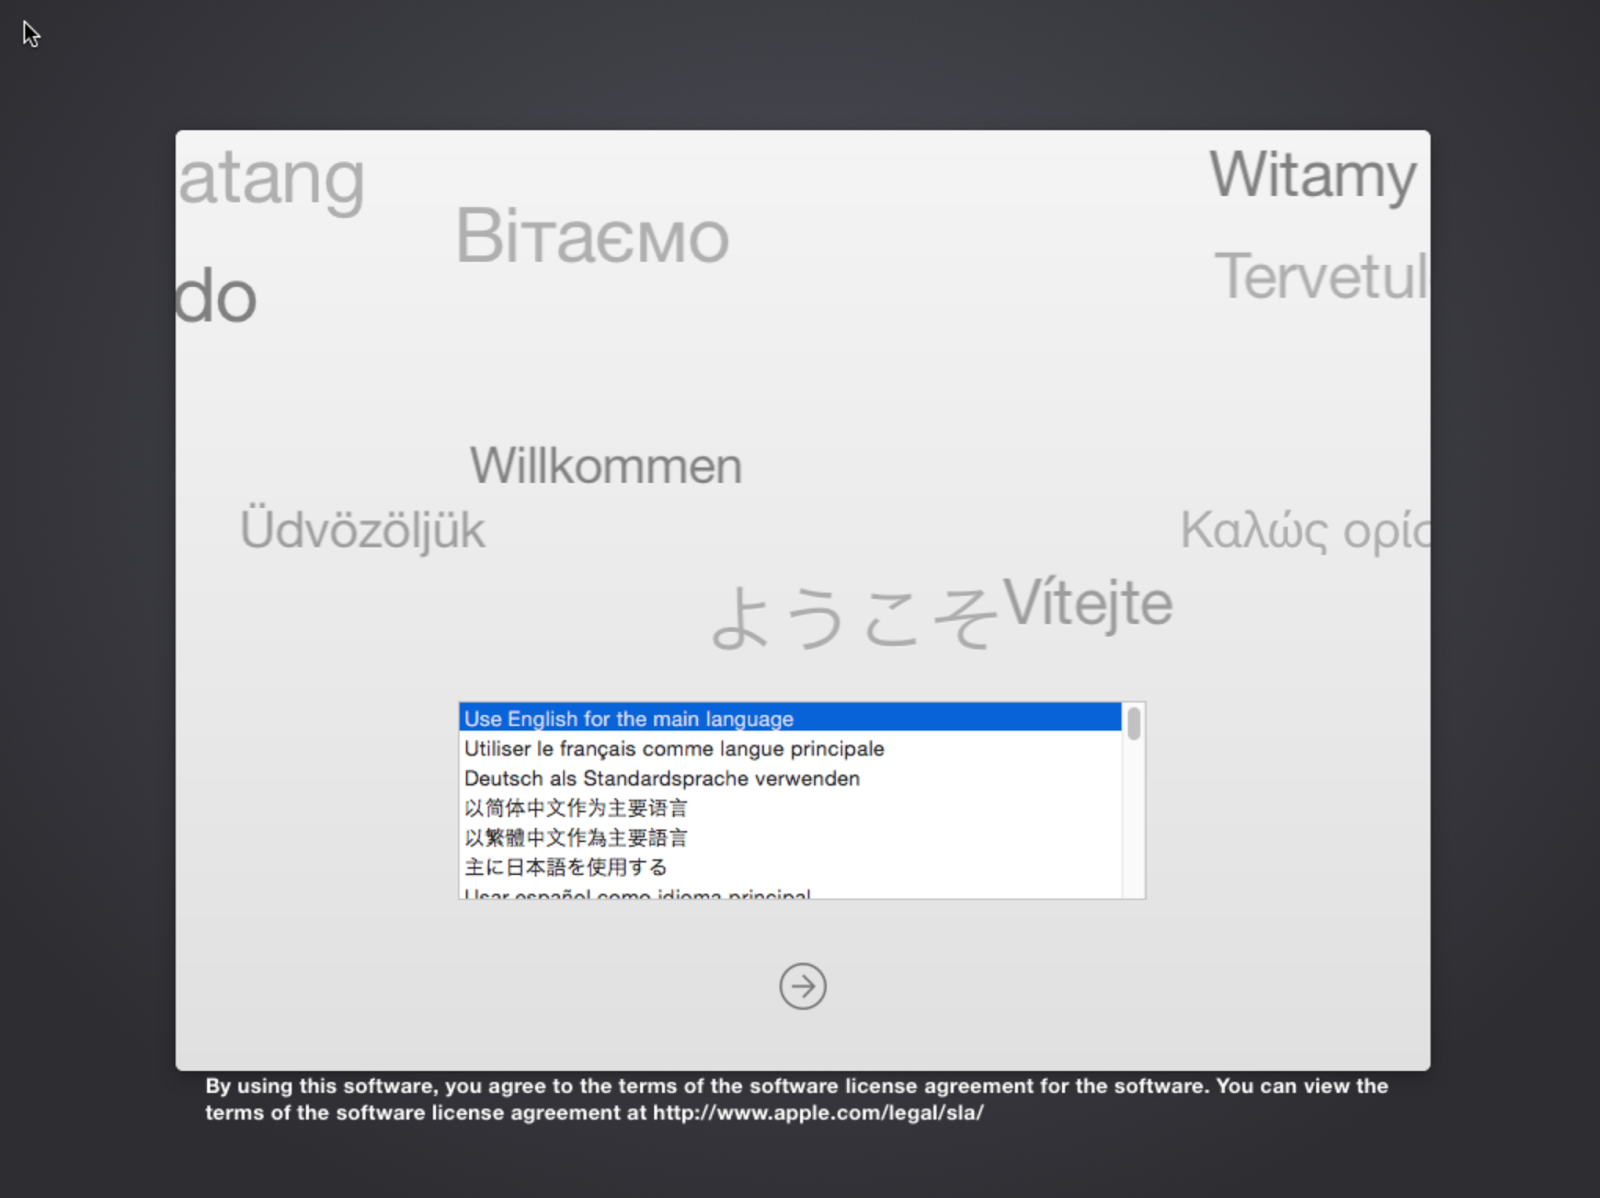
Step 01. Get into Setup screen. It's flat design


Step 02. Select your language. I choose English.


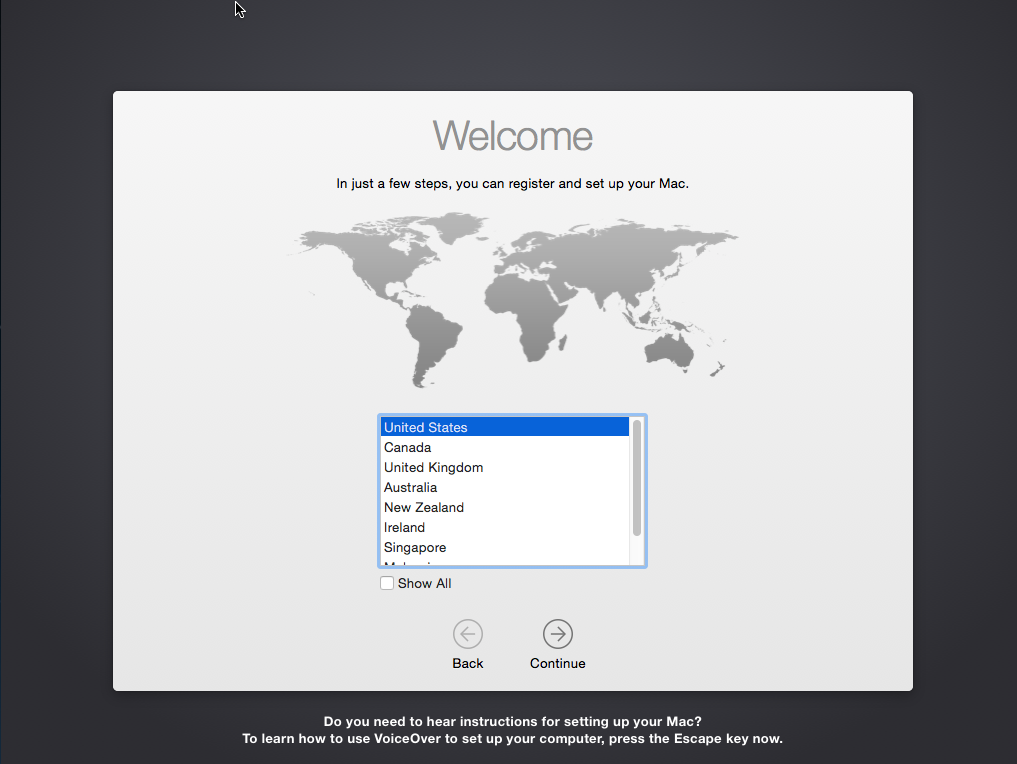
Step 03. It's startup screen. Click "Continue" button.


Step 04. Here is software license agreement. Click "Continue" button.


Step 05. Then you will get agree dialog. Click "Agree" button.


Step 06. Select your disk. And click "Continue" button.


Step 07. Waiting for some minutes. And your computer will reboot.


Step 08. Select your location and click "Continue".


Step 09. Select your Keyboard and click "Continue"


Step 10. This is transfer your information setting screen. I selected "Don't transfer". And click "Continue".


Step 11. Sign in apple. If you select "Don't sign in". You will get skip dialog.


Step 12. Please agree "Terms and Conditions". Click "Agree" button.


Step 13. Click "Agree" button again.


Step 14. Create your account. Enter all information. Click "Continue".


Step 15. Diagnostics setting screen. I uncheck all things. Click "Continue".


Step 16.  Waiting for a second. Mac will be set up automately.


Step 17. Finally you got yosemite desktop screen.


Step 18. Check your OS X Version.


After that. Enjoy your Yosemite life!!

Wednesday, April 8, 2015

[OSX - Yosemite 10.10.x] How to fix brew after Yosemite upgrade????

  After Yosemite upgrade did you see this message when you run brew??

  /usr/loca/bin/brew: /usr/local/library/brew.rb: /System/Library/Frameworks/Ruby.framework/Versions/1.8/usr/bin/ruby: bad interpreter: No such file or Directory
  /usr/local/bin/brew: line 26: /usr/local/Library/brew.rb: Undefined error: 0

  If you saw that al least once. Here is solution.


Step 01. Go do Versions Directory

cd /System/Library/Frameworks/Ruby.framework/Versions
sudo ln -s Current 1.8
brew update

After do this, There is new Current directory.


Step 02.  Delete 1.8 directory

sudo rm 1.8

And you can see 2.0 and Current directory only.


Now you can use brew clearly :)

Sunday, January 11, 2015

[Game Development - UnrealEngine] How to get 'UnrealEngine'?

Hi~! Everyone~~~~~! Today, We will get unrealengine & join there! Unreal Engine 4 is a complete suite of game development tools made by game developers, for game developers!! Let's do that!

Step 01. Access https://www.unrealengine.com/what-is-unreal-engine-4 and click 'GET STARTED' button.


Step 02. Insert your information for creating account. And click 'CREATE ACCOUNT' button.


Step 03. 'UnrealEngine' $19 per month.  Because of that we need credit card information. Insert that.


Step 04. Check 'End User License Agreement.' and click 'PURCHASE' button.


Step 05. It's done! We can use unreal engine just after unreal editor download. Click a button for OS what you have.


Step 06. I use mac. Then I got dmg file. Execute this!


Step 07. check volume....


Step 08. Install screen is coming up! Drag unreal engine app to 'Application' folder.


Step 09. We can see 'Unreal Engine' icon in launch pad! Click that!


Step 10. First time, We see this dialog. Click 'Open'


Step 11.  Now we get this! Insert login information. And click arrow side of password.


Step 12. In first execution, we have to agree 'User License'. Click 'Agree' button.


Step 13. Unreal Engine date will be downloaded.


Step 14. After that, 'Launch' button is activated. Click it.


Step 15. 'Unreal Editor' will be launched.


Step 16. Wow! There is many blueprint templates!!!!! We can make game easy!


Step 17. If you want to change your language. Go to menu -> Preferences...


Step 18. Select Region & Languages. And change what you want.


Last thing is checking your mailbox. This mail is awesome. I feel me be a great man. :)


Thursday, January 8, 2015

[MAC OSX App recommend] InsomniaX for sleepless you laptop.

If you want to be sleepless you laptop? When you close your laptop cover, It will be sleep but you don't want it. Here is solution "InsomniaX"


Step 01. Access developer's page http://semaja2.net/projects/insomniaxinfo/
and click 'Latest Version' Link


Step 02. Download is started automatically


Step 03. After download, Unzip that file and Run 'InsomniaX' executable file.


Step 04. It's familiar screen. That's right? Click 'Agree'

Step 05. If password dialog pop up, type your password and click 'approve'


Step 06. Wow, In your menu bar there is 'InsomniaX'  icon like new moon. 


Step 07. Click that icon, you can choose options. Lid Sleep is a mode for sleepless when be opened up your laptop. Idle Sleep is is a mode laptop is closed.


Step 08. Choose options at least one, InsomniaX icon turn it black.


Step 08. In Preferences menu, you can choose Start up option, CPU Safety, etc...


If you want sleepless macbook? Install it and use it!